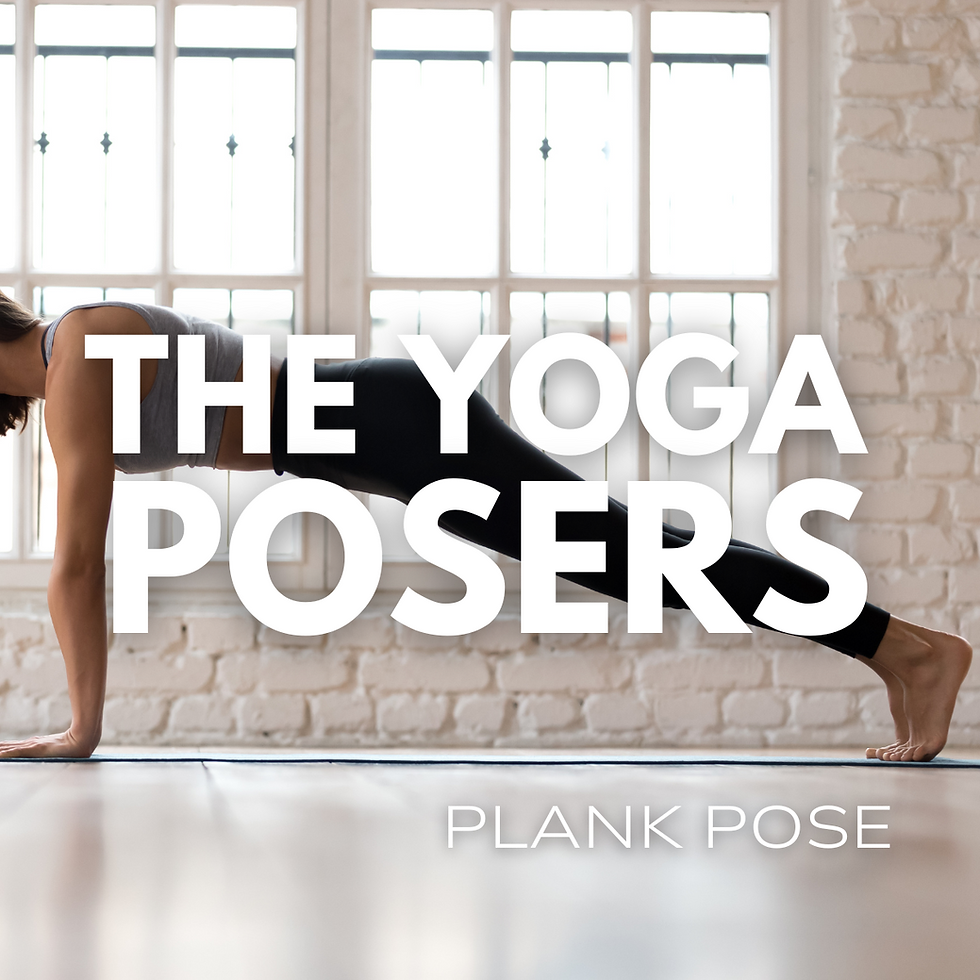
Mastering Plank Pose: Core, Alignment & Breath Solutions Happier Wrists & Shoulders
- Aug 28, 2025
- 5 min read
Master plank pose, and you'll have unlocked one of the most functional and transferable skills in all of yoga - the ability to create stable, integrated support for your spine while your limbs move freely in space.
In this episode of Yoga Posers, Jane and Sarah dive deep into Plank and Chaturanga Dandasana, addressing the most common problems students face and providing practical solutions for building sustainable strength through proper core engagement, alignment, and breathing techniques.
Key Topics Covered:
Why plank pose is so challenging
The connection between core engagement and breath work
Shoulder alignment and scapular movement
Progressive variations from beginner to advanced
Common mistakes and how to fix them
Therapeutic applications for different body types
The Problem with Plank
Plank pose consistently ranks as one of the most dreaded poses in yoga classes. Students complain about wrist pain, shoulder fatigue, and the inability to sustain the pose without the pose "dumping" into their low back. The truth is, most people are missing the fundamental mechanics that make plank sustainable and strengthening rather than harmful.
Core Solutions: It's About Integration, Not Gripping
The Real Core Connection:
Think of your abdominals as compressing your internal organs across a large area, creating a supportive "container" rather than just gripping your navel to spine
Engage the entire 360-degree core: from pubic bone to sternum, incorporating the pelvic floor and diaphragm
Use the exhale to activate the core properly - this isn't just breathing advice, it's biomechanics. The abdominals engage with exhales!
Start on Your Back: Before attempting weight-bearing plank, master the movement lying down:
Bend knees, find neutral pelvis
Engage the core: exhale to “zip up” from pubic bone to navel, “corset” the ribs, and narrow the hip points.
Slowly extend your legs while maintaining neutral pelvis position (track that using hands on ASIS/hip points).
Then reach arms to ceiling with flexed palms without arching your upper back
Practice the lowering motion of Chaturanga by pulling the arms slowly down towards your feet until the arms are bent to 90 degrees at the elbow. Shoulder blades should have narrowed and the head of the armbone should still be on the floor!
Alignment Keys That Actually Work
Shoulder Integration at the “top” of the Plank:
Most students need to "lift between the shoulder blades" rather than squeeze them together
For kyphotic (rounded) postures only: broaden collarbones and squeeze the shoulder blades
For flat-backed yogis: engaging the serratus anterior to prevent "dipping" between shoulder blades feels like a firming along the outer scapula/side of the ribcage
The Psoas Problem: The hip flexors (particularly psoas) tend to dominate in plank, causing:
Belly hanging/low back arching
Butt sticking up
Excess strain on the wrists because the abdominals are under-activated
Solution: Focus on "zipping up" from pubic bone toward navel while narrowing the hip points toward each other. “Corset” the ribs on exhales especially to feel how the core uplifts the pose. The core is anti-gravity!
Breath: Your Secret Weapon
Proper breathing in plank isn't just about staying calm - it's mechanical:
Exhale to engage: Use a "shushing" or candle-blowing breath to activate the external obliques
Inhale into your upper back, but only for flat-backed practitioners who struggle to lift up between the shoulder blades in this pose
Maintain breath rhythm: while holding your breath stabilizes the diaphragm, an important core muscle, challenge yourself to breathe in this pose without losing core integrity (a functional core is dynamic, not static).
Progressive Approach to Feeling Strong in Plank
Level 1: Foundation Building
Scapular slides on hands and knees to learn how to feel scapular position
Knee plank with proper alignment: double up on strong exhales here to recruit the abdominals
Single-leg extensions from table pose: keep your pelvis level (bent knee side tends to drop)
Level 2: Strength Development
Full plank holds (start with 15-30 seconds)
Plank to downward dog transitions maintaining neutral spine
Supported Chaturanga with blocks under the lower ribcage and pelvis. Hover off one or both blocks while maintaining shoulders as high as elbows.
Level 3: Integration
Practice lowering to Chaturanga without dipping the shoulders. Stop lowering the moment you feel the shoulders round.
Side plank from Downward Dog: learn how to firm the bottom edge of the ribcage to lift it away from the floor and scapula.
Maintain good shoulder alignment and core engagement as you enter Updog or Cobra
Common Problems and Fixes
Wrist Pain:
Usually a shoulder alignment/scapular rhythm issue and failure of the core to adequately hold up the weight of the body; the wrists are the victim, not the perpetrator
Try forearm variations and emphasize shoulder blade position and core support with exhales (shhhing or blowing out candles)
Consider fist variations or pushup handles when working with a straight arm
Improve everyday wrist alignment, avoiding extension of the wrist when typing and carrying or holding items
Can't Hold the Pose:
Build from supported variations first, so weight is off arms, then improve your shoulder awareness. Standing planks at the wall work great
Once the shoulders are correct, focus on quality of alignment over duration
Shoulders Dumping Forward:
Practice the military pushup setup (elbows wide, hands turned out slightly)
Work on head of arm bone placement in non-weight bearing positions
Strengthen the upper back and stretch tight chest muscles in backbends like Locust, Cobra and Camel
Therapeutic Applications
For Scoliosis: Side plank variations can be extremely therapeutic when progressed and positioned appropriately (lumbar convex side down with feet on floor; thoracic convex side down with feet on chair).
For Kyphosis: Emphasis on chest opening (lift upper ribs with inhale) and upper back strengthening. Spinal extension in all poses.
For Depression: Plank's Kapha-balancing properties can help generate energy and heat
The Bottom Line
Plank pose isn't just about building "core strength" - it's about creating integrated stability that serves your entire practice and daily life. When done correctly, it teaches you what isometric muscle engagement feels like and builds the foundational strength needed for arm balances, inversions, and a sustainable vinyasa practice.
The key is patience with the process of mastering good form. Start with variations that allow you to feel successful while building strength progressively. Your future self will thank you for taking the time to build this foundation properly rather than just powering through with compensation patterns.
Remember
If you're feeling sensation in your core muscles and arms, you're on the right track. If you're feeling strain in your joints or low back, step back to a more supported variation. The pose should challenge your muscles, not stress your structure.
Master plank pose, and you'll have unlocked one of the most functional and transferable skills in all of yoga - the ability to create stable, integrated support for your spine while your limbs move freely in space.


Comments